
Your video editor
Welcome to my editing workshop!
My first draft is done — but you're the director! In this editor, you can perfect your video before we finalize it. Here I'll show you which buttons you need to press to get the most out of your recordings.
1. The timeline: sort your story
At the bottom, you'll see all your clips in a row (1, 2, 3...). That is the process of your video.
- Change order: Does the process not suit you? Do you want the kitchen with show the living room? It's very easy! Click on a clip, hold down the mouse button, and drag it to the desired location (Drag & drop).
- IMPORTANT — The Golden Rule:
When you move clips, the overall video at the top changes not immediately. Why Because I have to recalculate the video first.
Once you've made changes, click on the green button at the bottom left “Refresh”. Only then do I render the new version and you see the result.
.gif)
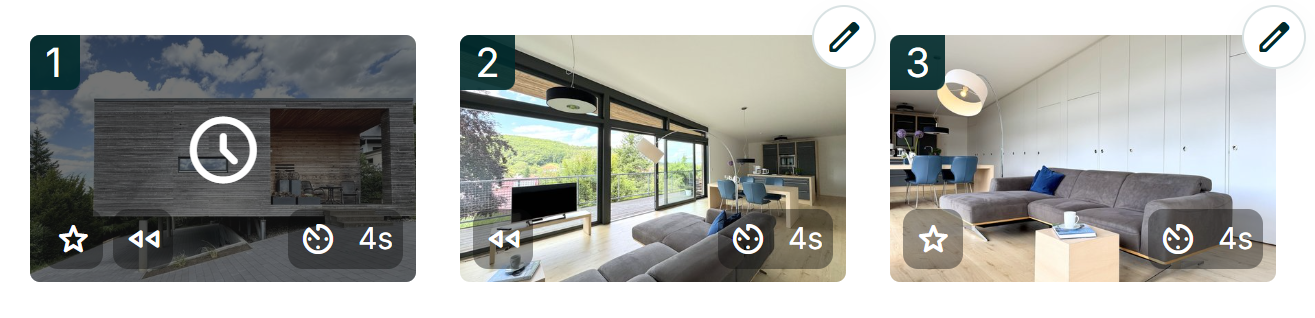
Marton's quality note: Why is the video blurry after I've updated it?
Don't be surprised if the video suddenly has something right after updating blurred or pixelated looks. That is completely normal!
You will then see a green banner with the text at the top “Preview quality”.
- The reason: So that you can make your changes (cut, order) straightaway You can see and don't have to wait a long time every time, I'll show you a “lightweight” draft version here.
- Don't worry: That is not the end result! As soon as you're at the very end on “Complete” Click, do I put the video back into the full, razor-sharp resolution high.

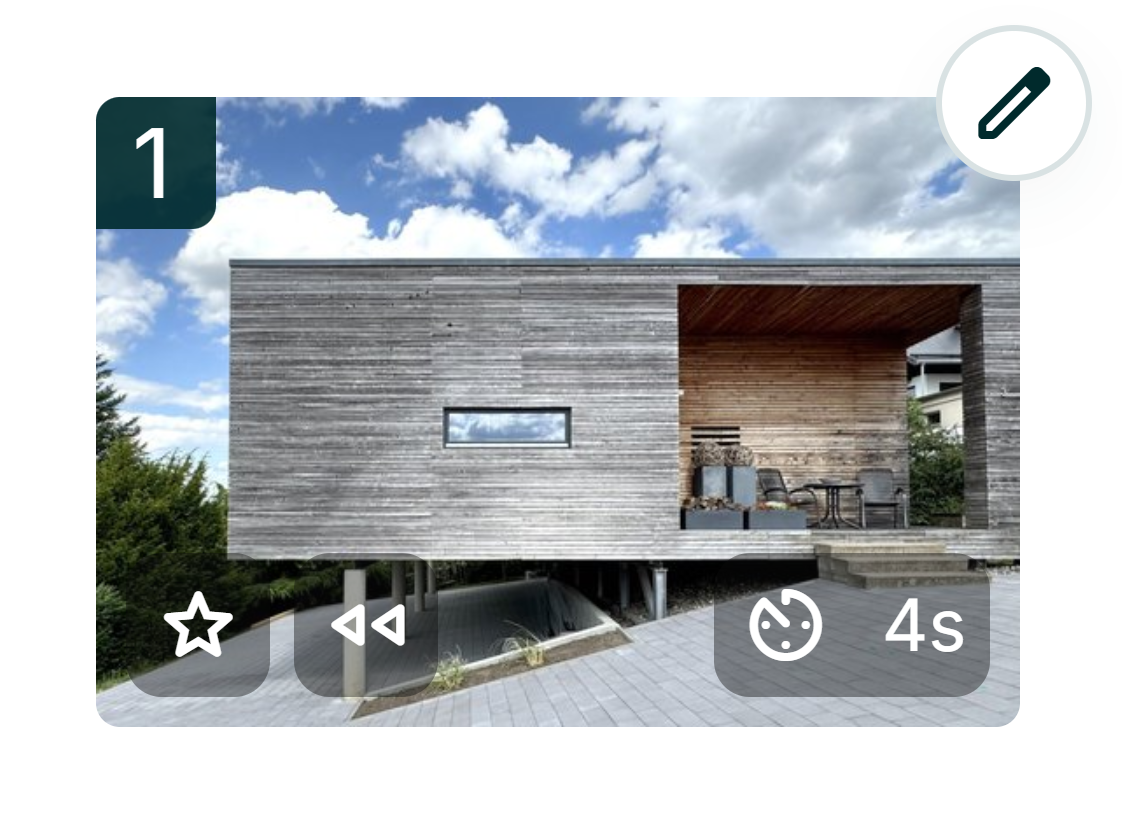
2. Understanding the icons on the clips
On every small preview image in the timeline, you'll see small icons.
That's what they mean:
- ⭐️ The star (highlight): This clip is a “highlight.” That means I show him in the video a bit longer than the others so that the viewer has more time to enjoy the picture.
- ⏱️ The time (e.g. 4s): This is how many seconds this clip plays in the video.
- ⏪ The arrows: They show the playback direction. If the arrows point left (back), I play the movement backwards. Sometimes I do that automatically when it goes better with the music.
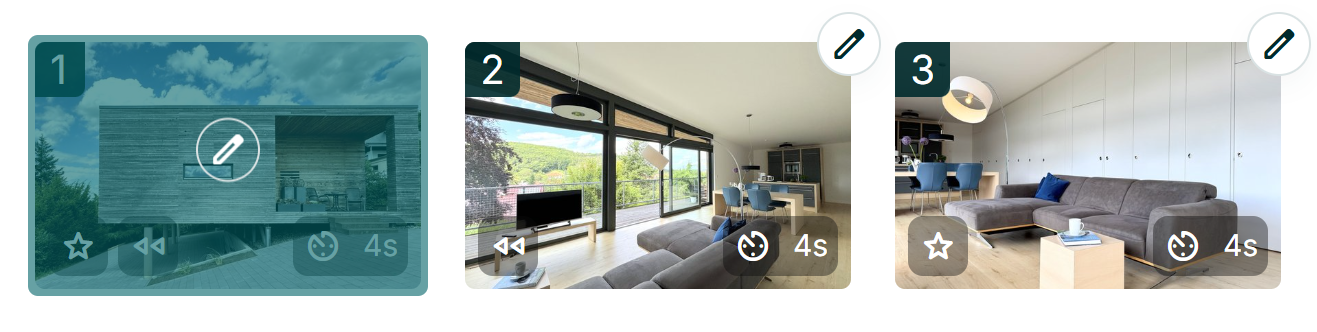
3. The processing pen: Off to the engine room!
Do you want to change a single clip because the camera move is funny or the picture is running too fast? At the top right of the small clip image, click on the pen icon.
Now a new window opens with the professional tools:

⚙️🎥 The camera control
At the bottom right, click on the cogwheel / camera iconto control movement. Here you have full control:

Change camera movement:
1. Select camera movement
- Straight ahead: The classic. Quiet and stable
- Slightly left/ right: I gently swing to the side as I drive.
- Rotate: For spectacular “dolly” effects where the room rotates slightly.
- Up/down: Like a crane moving upwards.
- Marton's tip: Here I'll explain to you which camera movement suits which room and how to create a professional “flow” through the correct sequence of directions.
2. New camera shot selected? 👉 Click “Create new”!
If you change the style of the ride (e.g. from “straight ahead” to “turn”), I need the clip Completely recalculate. So after choosing, be sure to click on the green button “Create new”, otherwise the old clip will remain.
3. Wait (The Hourglass): Now I have to do some math. The clip gets an hourglass in the timeline. You'll have to be patient for a minute — I'll let you know!
4. Done (Everything is green): As soon as I'm done, the clip will verdure Mark and get a small editing icon.
5. Watch & compare:
- Click on the green clip to see my new work directly.
- Is the pace still not right? Here you can immediately return the direction of movement or velocity change.
- The highlight: Do you like the olden Is it better to clip? Or do you want to compare? Use the < und >arrows () left and right on the edge of the picture to switch back and forth between the old version and the new attempt.
- Save: Have you found your favorite? At the bottom, click “Select”. Important: Back in the big overview, you then have to go to “Refresh” click so that the new clip is also firmly integrated into your overall video.

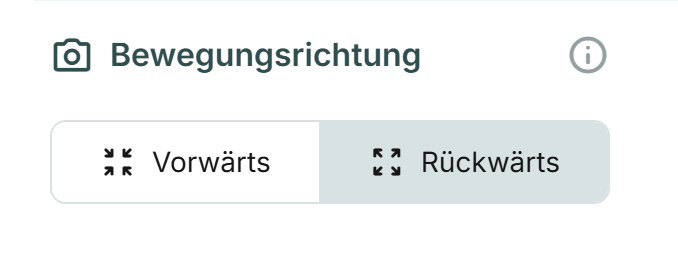
Change direction of movement:
1. Select direction of movement
- Forward: I'm moving into the room.
- Backwards: I'm moving out of the room.
2. Confirm selection: Click on the “Select” button to confirm your new camera move
3. Update video: Would you like to see the new camera movement in the full video? Click on update and I'll incorporate your changed camera shot into your real estate video
Marton's tip: Here I'll explain to you when you should play a clip backwards or forwards and why it's important to let several clips flow in the same direction.
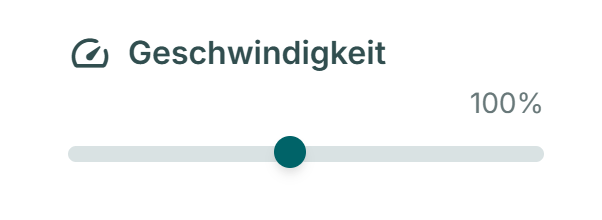
Change speed:
1. Select speed
- With the slider, you can adjust how fast the clip runs. 100% It's the standard.
- Faster/slower: You can move the slider. Note: Since I always generate clips with a fixed length of 4.25 seconds, I have physical limits. I can't make a clip infinitely slow or infinitely fast — but within a certain framework, you have leeway!
2. Confirm selection: Click on the “Select” button to confirm your new camera move
3. Update video: Would you like to see the new camera movement in the full video? Click on update and I'll incorporate your changed camera shot into your real estate video
Learn hereHow to adjust the speed of neighboring clips and why you should apply the brakes before the musical peak.
⚠️ IMPORTANT: The “Create new” rule
Here is a short summary for you:
- Camera movement changed? 👉 Click “Create new”!
If you change the style of the ride (e.g. from “straight ahead” to “turn”), I need the clip Completely recalculate. So after choosing, be sure to click on the green button “Create new”, otherwise the old clip will remain.
- Just changed direction or speed? 👉 Go right away!
If you just the direction of movement (forward/backward) or the velocity Change, do you have to not regenerate. Here I simply take the existing video and rewind it differently or faster. I'll save this directly when you click on “Select” at the bottom.
More Features
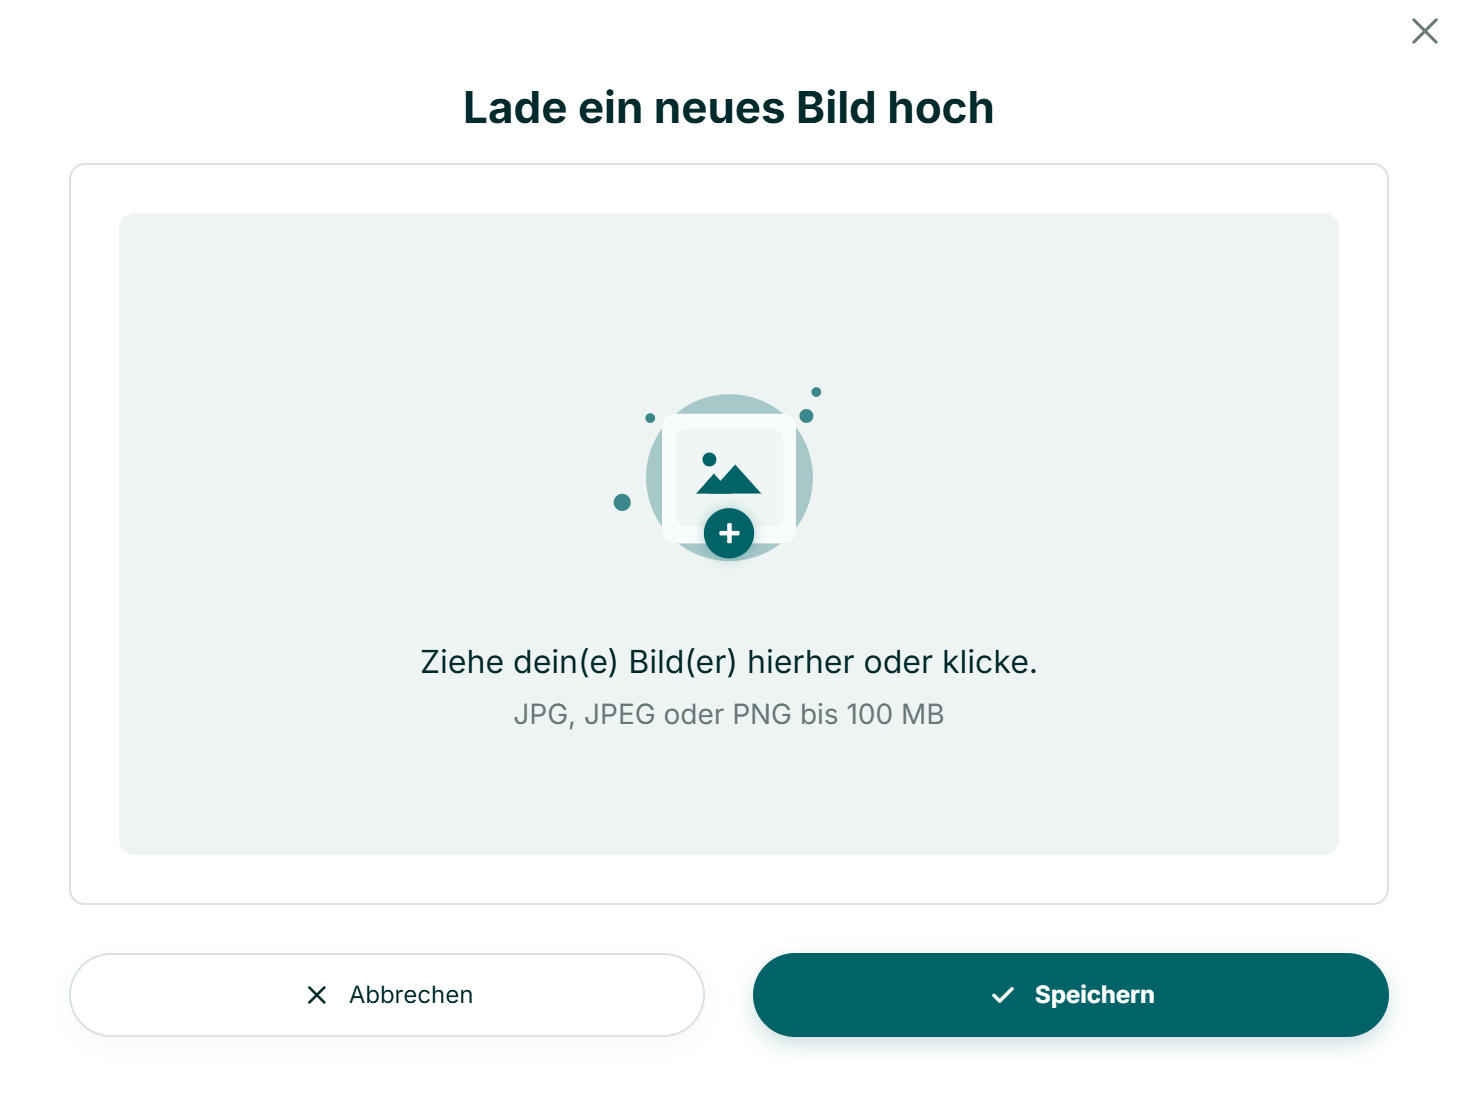
📤 Swap image
Do you notice that the photo doesn't look so good after all? Click on the upload button (arrow up) to exchange the current image with a whole new photo from your computer. I then completely regenerate the clip with the new image.
Note: Click on “Refresh” to see the new image in the full video.
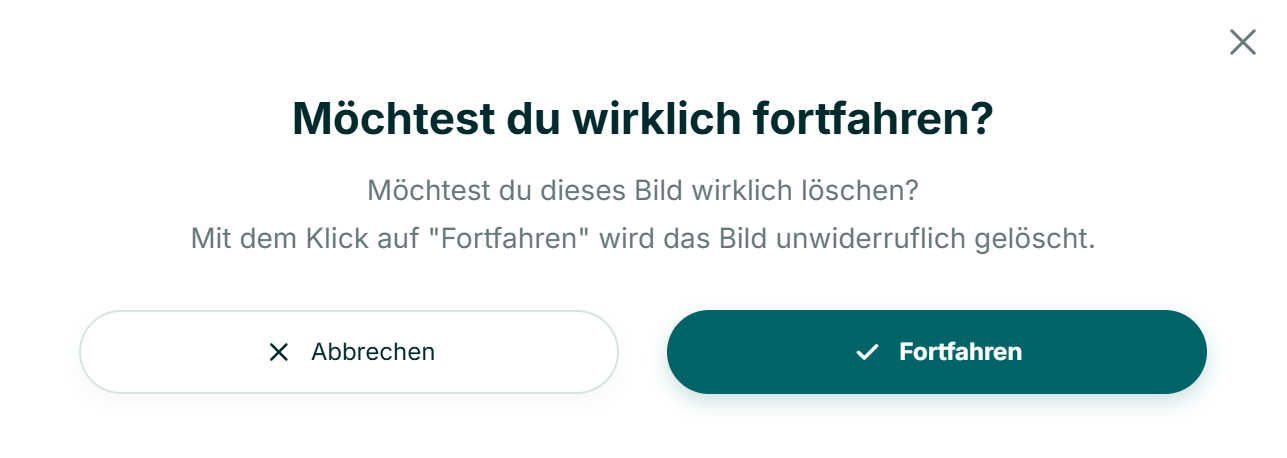
🗑️ Delete
Do you want to throw the clip out of the video altogether? Click on the dustbin. But be careful: gone is gone!
Note: Click “Update” to see the new full video.
4. The final: “Complete”
Are you happy with your video? Then click on the big button “Complete” bottom left.
What's happening now?
Now I'll get the polishing cloth out!
- I'll scale the video to the highest quality high (upscaling).
- I'm adding additional images on (frame interpolation) so that the movements are buttery smooth.
Important: As soon as you have clicked on “Finish”, the video is finally “baked”. You can do it afterwards Don't edit anymore. So be sure that everything fits!
Have fun directing!