
Create your first project
Hello! I'm Marton, your personal video robot.
I'm really looking forward to creating my first masterpiece for you! Don't worry, you absolutely don't have to be a tech pro. My processors are programmed to do all the hard work for you.
Just give me “food” (your pictures) and some information — I'll do the rest. Are we getting started?
1. Wake me up
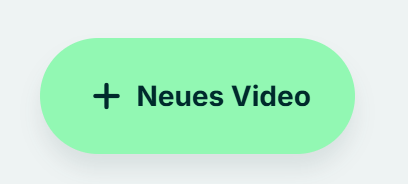
Click on the big button in the top right corner of your dashboard “Create video”. With that, you start my engines and we end up directly in my creation assistant.
2. Create a new project
First, I need a name for your project. Give your project a meaningful name so I know what I should work on and you can easily find it later.

3. Select format
Choose whether you want me to create your video in landscape mode or portrait mode.
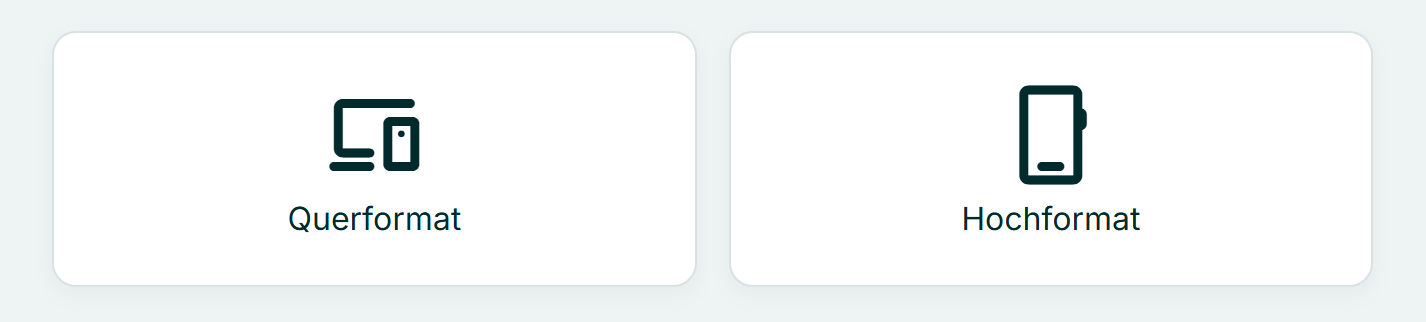
- Dial landscape format (16:9) for portals, your website, or YouTube.
- Dial Portrait format (9:16)if I need to optimize the video for Instagram Reels or TikTok.
Are you unsure which format is the right one? Here I will explain in detail which format is best suited for whom.
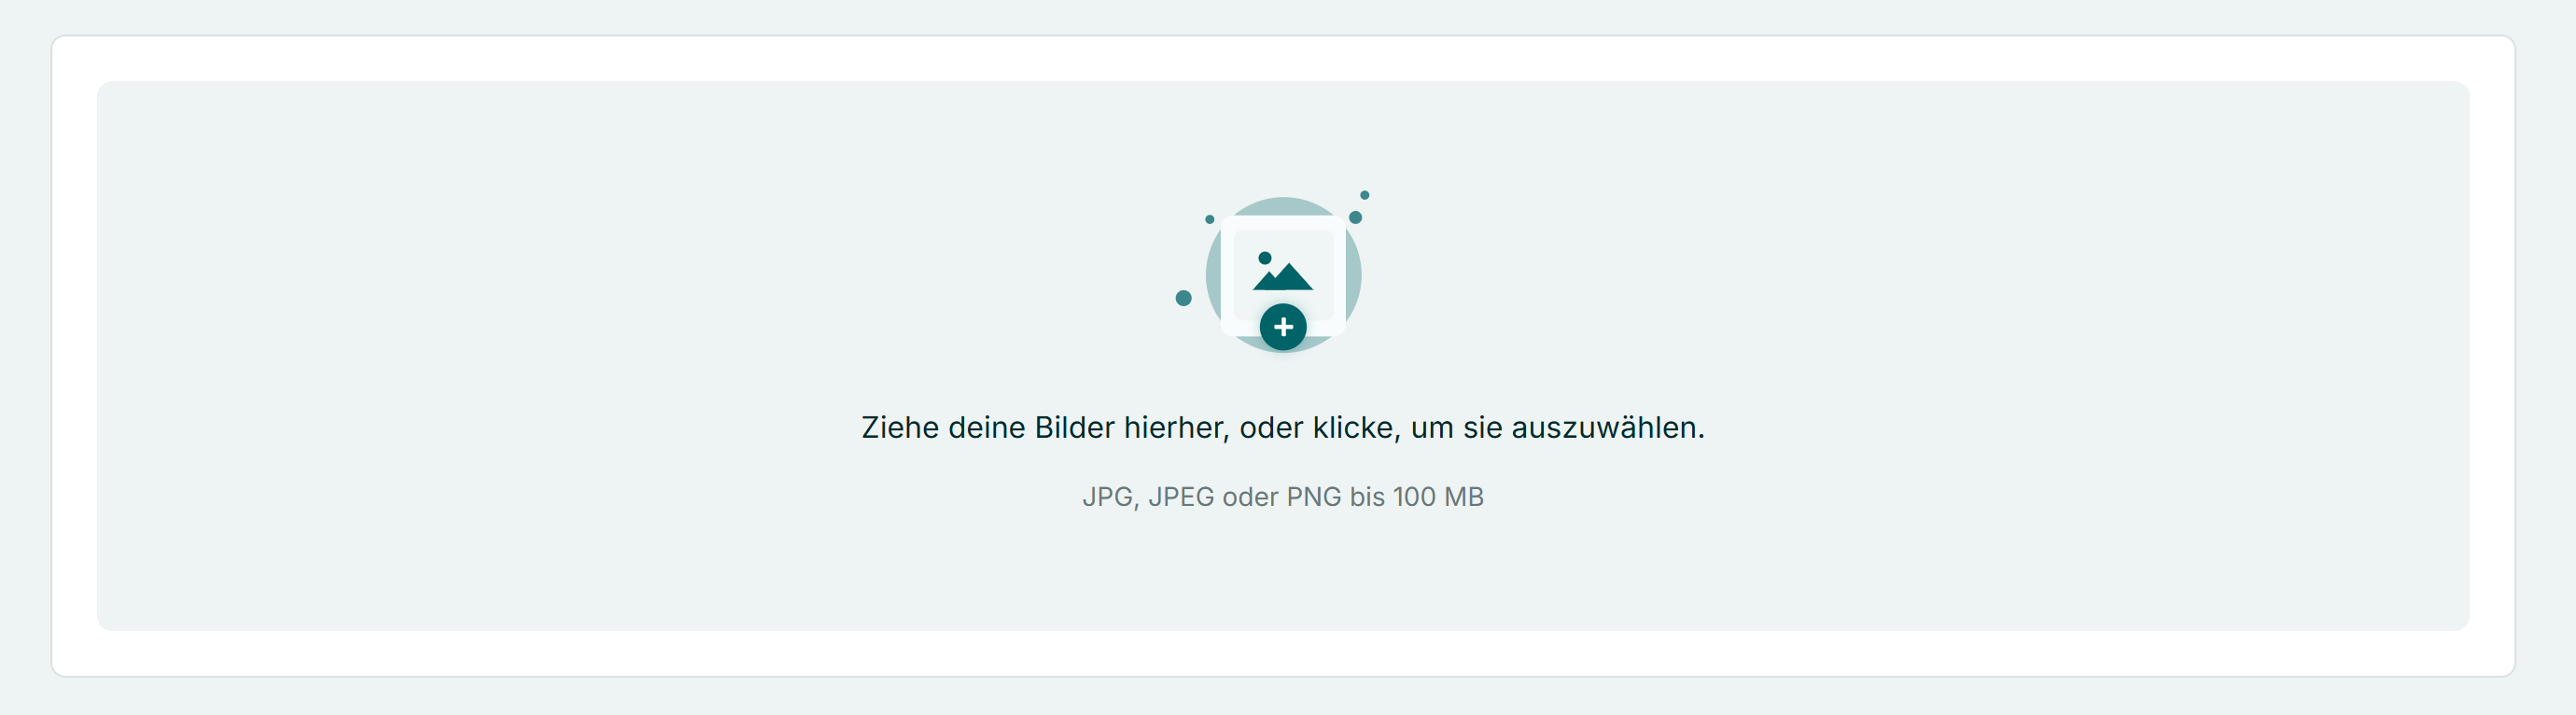
4. Feed me pictures
Now comes my favorite part! Simply drag and drop your photos into the upload box. Please give me at least 8 and maximum 15 images, so that the video is not too short or long.
I can work with all images. However, if you want to get the most out of your images, read here through the best tips.
4. Adjust order
Once the images are there, you can move them with the mouse. I'll use the order you set here later for editing (e.g. first the house from outside, then into the living room). I have tips for a suitable order here compiled for you.
Marton's sorting help:
Are you in a hurry? Then simply click on the button “Suggest order”.
I then try to automatically sort your pictures into a logical story.
But beware: I'm a pretty smart robot, but I'm not (yet) perfect! Sometimes I make a mistake and pack the guest toilet in front of the bathroom.
So please be sure to throw another one after the click brief review That and blame me when I've done nonsense. Teamwork!
.gif)
4. Select music & editing
Now we're bringing life to the place! The music is crucial to the mood of your video. But the best part is: It also determines the cut.
Select a song and I'll automatically sync the frame change to the beat of the music (cut-to-beat). This makes the transitions look absolutely smooth and professional — completely without manual cutting.
Just click on the Play button in the preview image to test the song and editing style in advance.
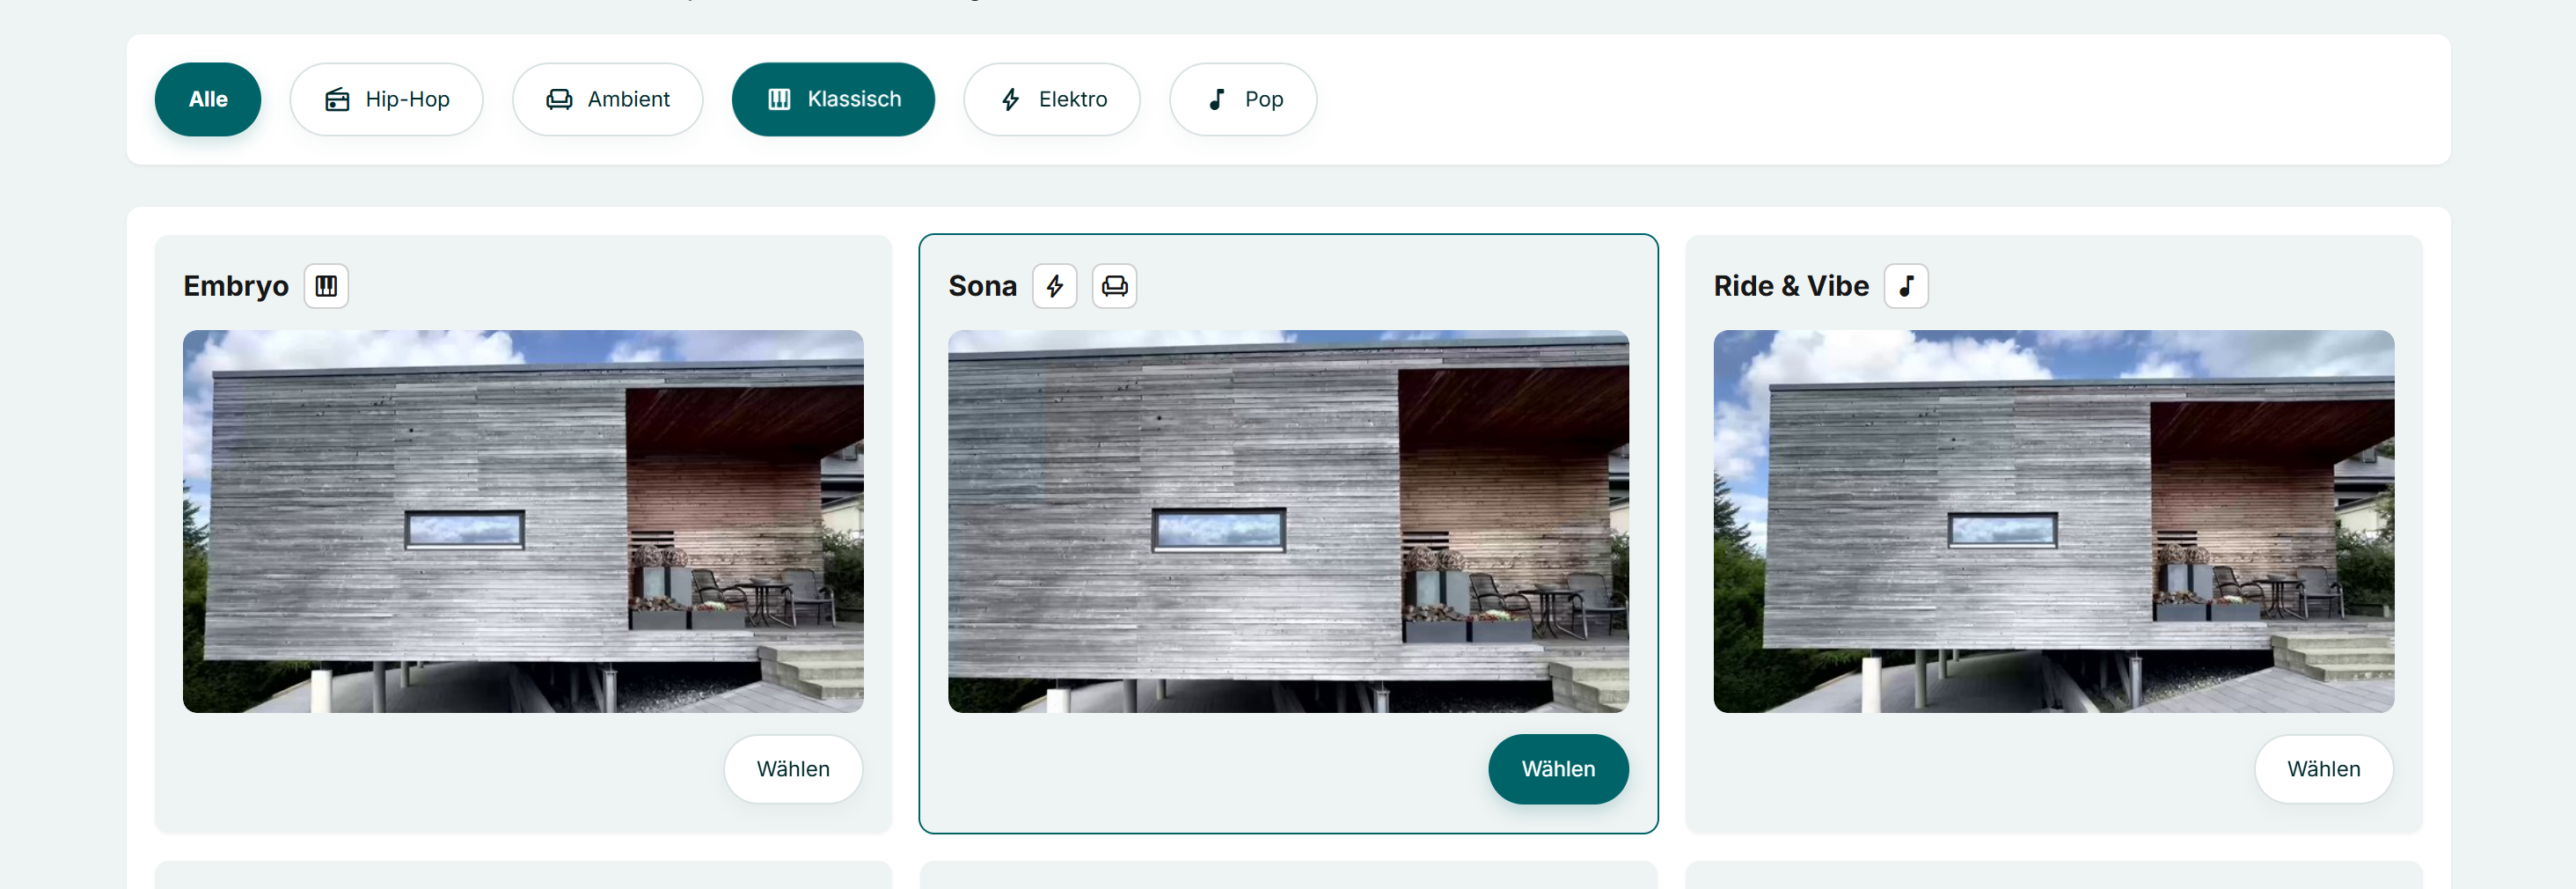
Marton's music tip:
Are you unsure which style suits your property? Here is my little cheat sheet for you:
- 🛋 Ambient: The all-rounder. Perfect for cozy family homes, wellness properties or properties in a quiet natural location. Relaxed and unobtrusive.
- 📻 Hip-hop: Cool and urban. Ideal for modern lofts, student apartments or stylish city apartments that should appeal to a younger audience.
- 🎹 Classic: Elegant and timeless. The best choice for high-quality villas, historic old apartments or luxury properties. That radiates exclusivity.
- ⚡ Electro: Dynamic and fast. Perfect for high-tech new buildings, smart homes or modern penthouses in the city.
- 🎵 Pop: Friendly and welcoming. A safe choice for bright condos and townhouses. Everyone actually likes that!
5. Video overlays
Almost done! Now let's make the video your video. In this step, we'll add your logo, texts, and contact details.
First, the color check:
So I know which Colors and fonts If you want me to use, your branding must be stored.
- Does everything still look grey? Then click briefly on “Change my branding”. There you can upload your logo and set your company colors. Here I'll explain to you in detail how to use the Branding Manager.
- Important: If you've changed something there, be sure to click on “Reload branding”. It's the only way I can get the fresh information and update your video.

Select intro & outro:
Now you decide on the start and end of the video:
- Intro (The start - optional): Activate the check mark, choose a nice template and type in your texts directly (e.g. “Exclusive City Villa”). I automatically adapt the design to your brand. Not sure whether you should use an intro for your videos? Here I've dealt with the question of whether an intro or text overlays are the right choice for you.
- Outro (The End): That's your digital business card at the end. By default, I'll show your logo here. But you can also decide whether I am also your pic And yours contact details should show so that interested parties can reach you immediately.
6. Give a start signal
Everything filled out? Then click at the bottom right “Create”.
And what do I do now?
Now you can relax! As soon as you've clicked, I'll whizz into my digital workshop. I analyze your images, calculate camera moves, edit the scenes to the music and render the effects.
It's pretty exhausting for my chips, so I need it approx. 10 minutes.
Feel free to close the window and grab a coffee.
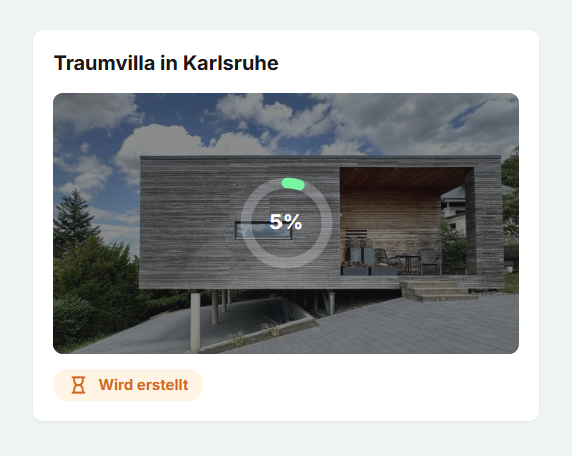
When am I done?
Just take a look at the dashboard. As soon as the small sign of 'Being created' upon 'Ready' Hello, my first draft is here! Then simply click on the project to go directly to video editor to jump. There we'll look at the result together and you can put the finishing touches on it.”
